Last update: 26/03/2025
Open Source Observatory (OSOR)
Open Source Software
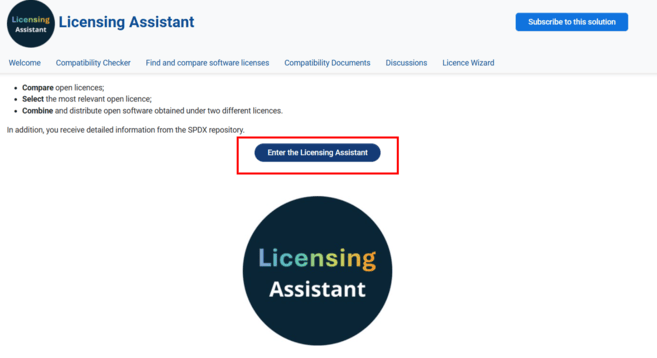
The Licensing Assistant helps users explore and compare open-source licences based on what they allow, require, or restrict. This step-by-step guide explains how to use the tool to filter licences on multiple criteria and view their differences in a comparison table.
Start by going to the Licensing Assistant. On the page, click the blue “Enter the Licensing Assistant” button to access the tool.
Once inside the tool, you will see six coloured columns, each representing a different category of criteria:
💡 Tip: You can hover over any filter option to see a tooltip with additional information about what that term means.
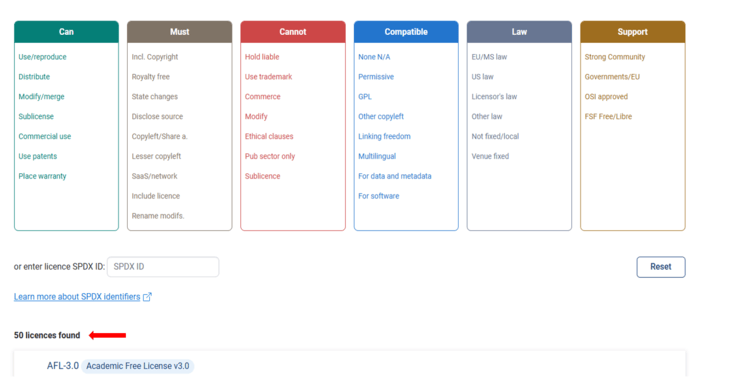
Click on one or more options under each category to filter the results.
For example, selecting "Commercial use" and "Disclose source" will limit the list to licences that allow commercial use and require source disclosure.
You can select several filters within the same category or across different categories. The number of matching licences will update automatically.

For each licence displayed in the results, you can view key information at a glance: what it allows, what it requires, any restrictions.
Each licence also includes a description, which summarises its main features, and a link to the full Licence Text if you wish to read the legal text version.
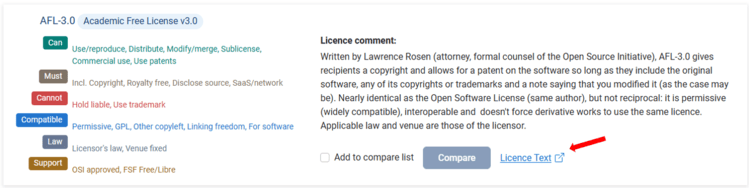
To compare licences, tick the box “Add to compare list” under each licence you wish to review.

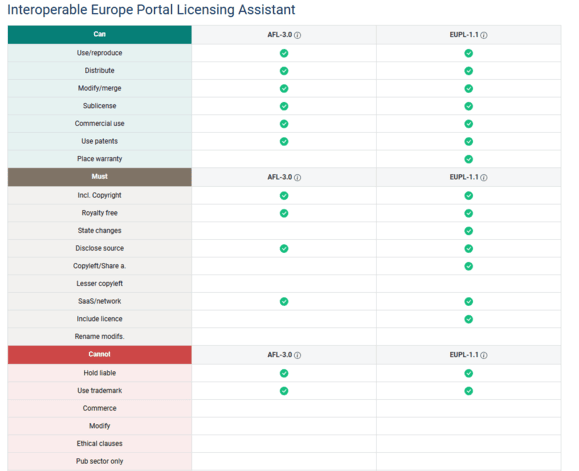
After selecting at least two licences (and up to five), click the “Compare” button.

This will open a table where the selected licences are shown side by side, allowing you to easily compare what they permit, require, prohibit etc.
To better understand the functionality of the Licensing Assistant and how to use it effectively, refer to the online course on the Interoperable Europe Academy.
To go further, you can also use the Compatibility Checker – another feature of the Licensing Assistant designed to help you assess whether two licences can be combined in the same software project and under which licence(s) the project can be distributed. For detailed instructions on how to use it, refer to this article: How to check compatibility between two licences.
Do you have any question?