The Interoperable Europe Portal has launched a set of new tools to assist both users and content creators in consuming and creating content. With these additions users can now communicate directly and content creators can organise content and present events in a more effective and engaging way. Read on to find out how they work and what benefits they can bring to your Portal interaction.
Private messaging
Stay connected to your community through the new messaging feature. Now you can send messages to any user, allowing for direct and one-to-one communication within the Portal. This is a great feature that will allow you to connect with peers and to collaborate on mutual interest activities.
- To get started and access your private messaging area, sign into the Portal and click on your account avatar.
- Click on ''My messages'' to open the page with all your private messages.
- If you select ''New message'', a popup window will allow you to choose the recipient (only one) and to type the content of your message.
- To keep up with all your messages, turn on the private messages' notifications in your settings (from the ''three dot'' icon in the top right of the page).
Important note: You also can block specific users and even report them to the Portal’s moderators. This is possible via the red triangle icon located in the bottom right of a received message.
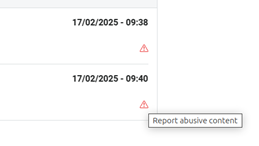

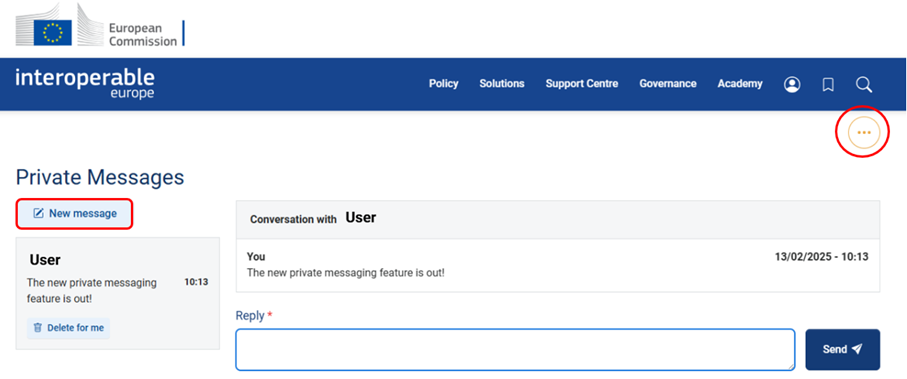
Table of Contents (for content creator)
As a content creator, you can now insert a Table of Contents when publishing contents on the Portal. This new feature also simplifies your readers’ experience by allowing them to easily navigate through the different sections of a page.
- Sign into the Portal and navigate to the area where you wish to create or edit your content.
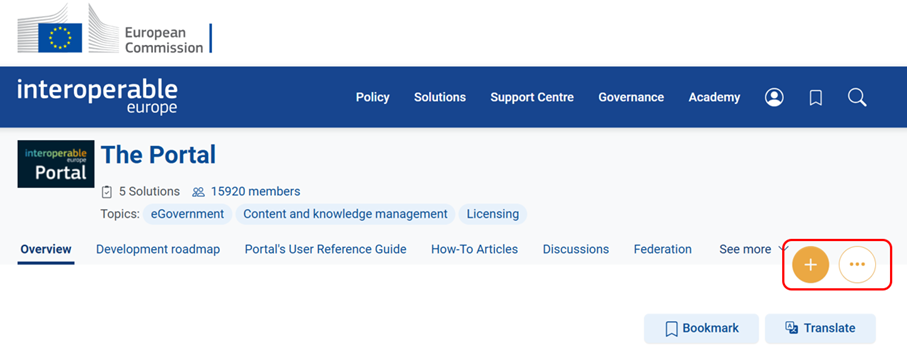
- To create new content, click on the ''plus'' icon and select the type of item you wish, while to edit an already published content click on the ''three dots'' icon and select “Edit”. Both icons are available at the top right of the page.
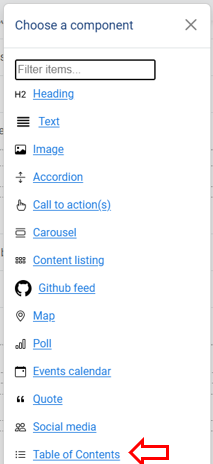
- Once in edit mode, add or create a layout and then insert the ''Table of Contents" component by clicking on the “+” icon that appears when you hover over the layout.
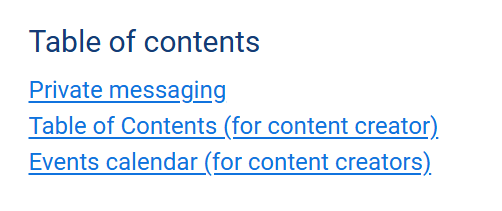
- Once you insert the “Table of Contents” component, the system will automatically detect the headings of your content and display them in the familiar view of a table of contents.
Important note: Make sure you have headings in your content – using the “Headings” component – otherwise your table of contents will be blank.
You can now save the changes and publish your content!
You can find more information on how to create and publish content by reading this How-To article and by checking the Portal's User Reference Guide.
After you are done, your table of contents will look something like this:
Events calendar (for content creators)
As a content creator, you can now enhance your content with the new “Events calendar” feature, which introduces the option to add a dedicated calendar section when designing content. Choose between different calendar views (i.e., list events by week or month, show only upcoming events etc.) and create a more visually appealing presentation for the planned events.
Follow the steps below to add an “Events calendar” component:
- Sign into the Portal and navigate to the area where you wish to create or edit your content that will feature the calendar.
- To create new content, click on the ''plus'' icon and select the type of item you wish, while to edit an already published content click on the ''three dots'' icon and select “Edit”. Both icons are available at the top right of the page.

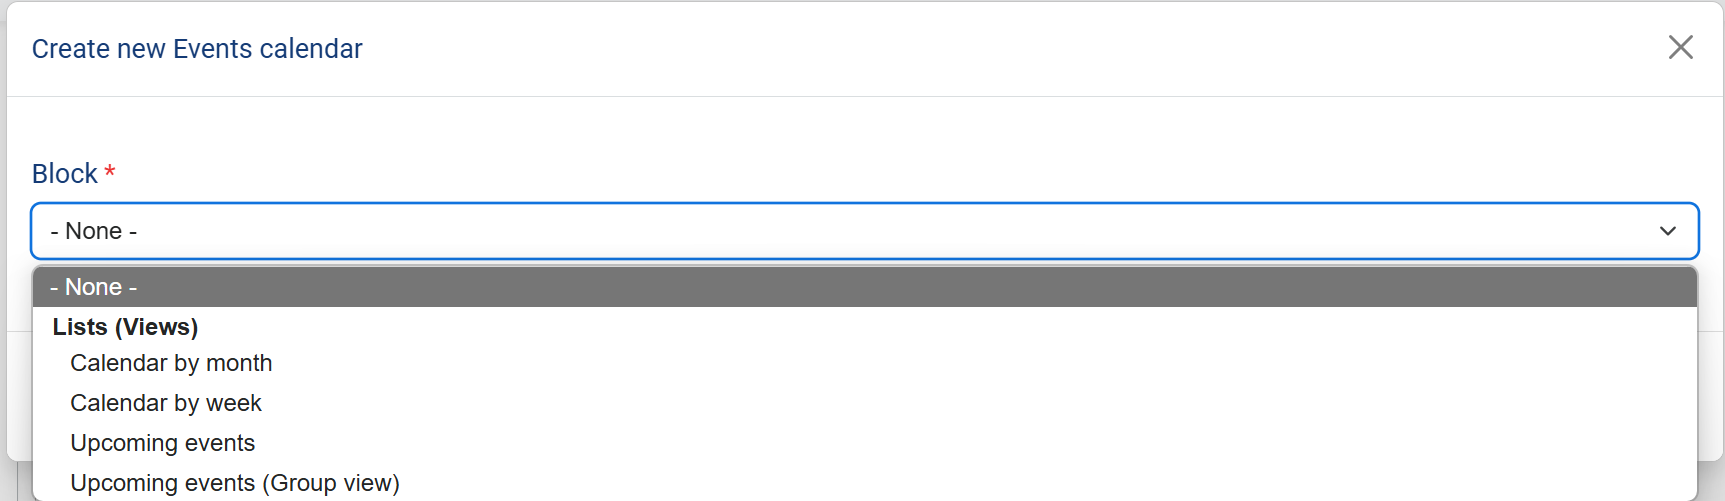
3. Once in edit mode, add or create a layout and then insert the ''Events calendar" component by clicking on the “+” icon that appears when you hover over the layout.
4. Through the popup window you'll be able to choose between the four available calendar options.
5. Choose the one that best fits your content and save the changes by publishing the page.
The events calendar section of your page will now be automatically updated with events, displaying them in chronological order.