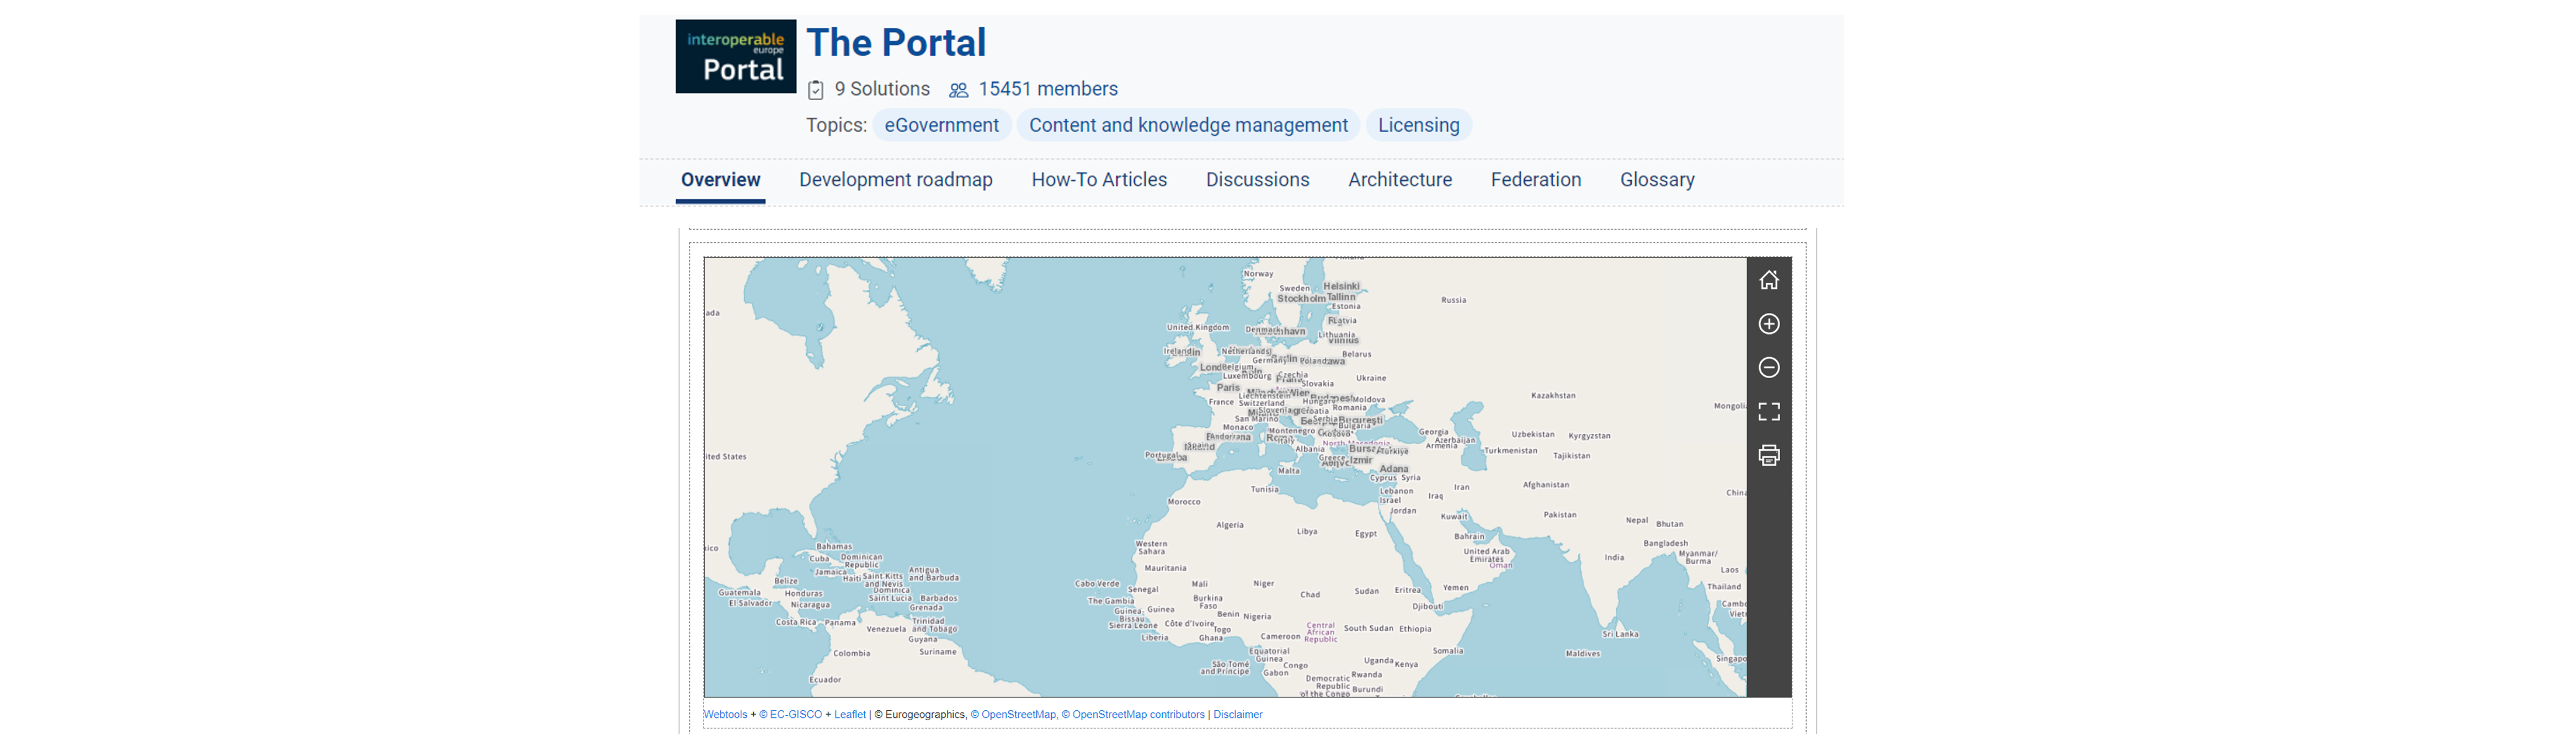
The map block allows Collection/Solution managers to add in Custom Pages interactive geographical maps. These maps also support info-boxes, which could be set up to appear when users click on location pins placed on the map. The map block can facilitate users’ navigation when seeking country-related information and resources or provide a visual representation of the regional topology for specific content.
This How-To article aims to show how to add an interactive map block within the Portal pages.
Adding a map block in a Custom Page
Note: You must be signed in as a Collection/Solution manager, i.e. owner or facilitator, to add a map block.
These block elements are supported in Custom Pages, Events, News and Documents. To add a map block either create a new Custom Page or edit an existing one. To create a new Custom Page please refer to our How to create a custom page article. To edit an existing Custom Page, enter your Collection/Solution and click on the “pen” icon at the top of the right-side navigation menu. From the menu select the option “Edit menu”.

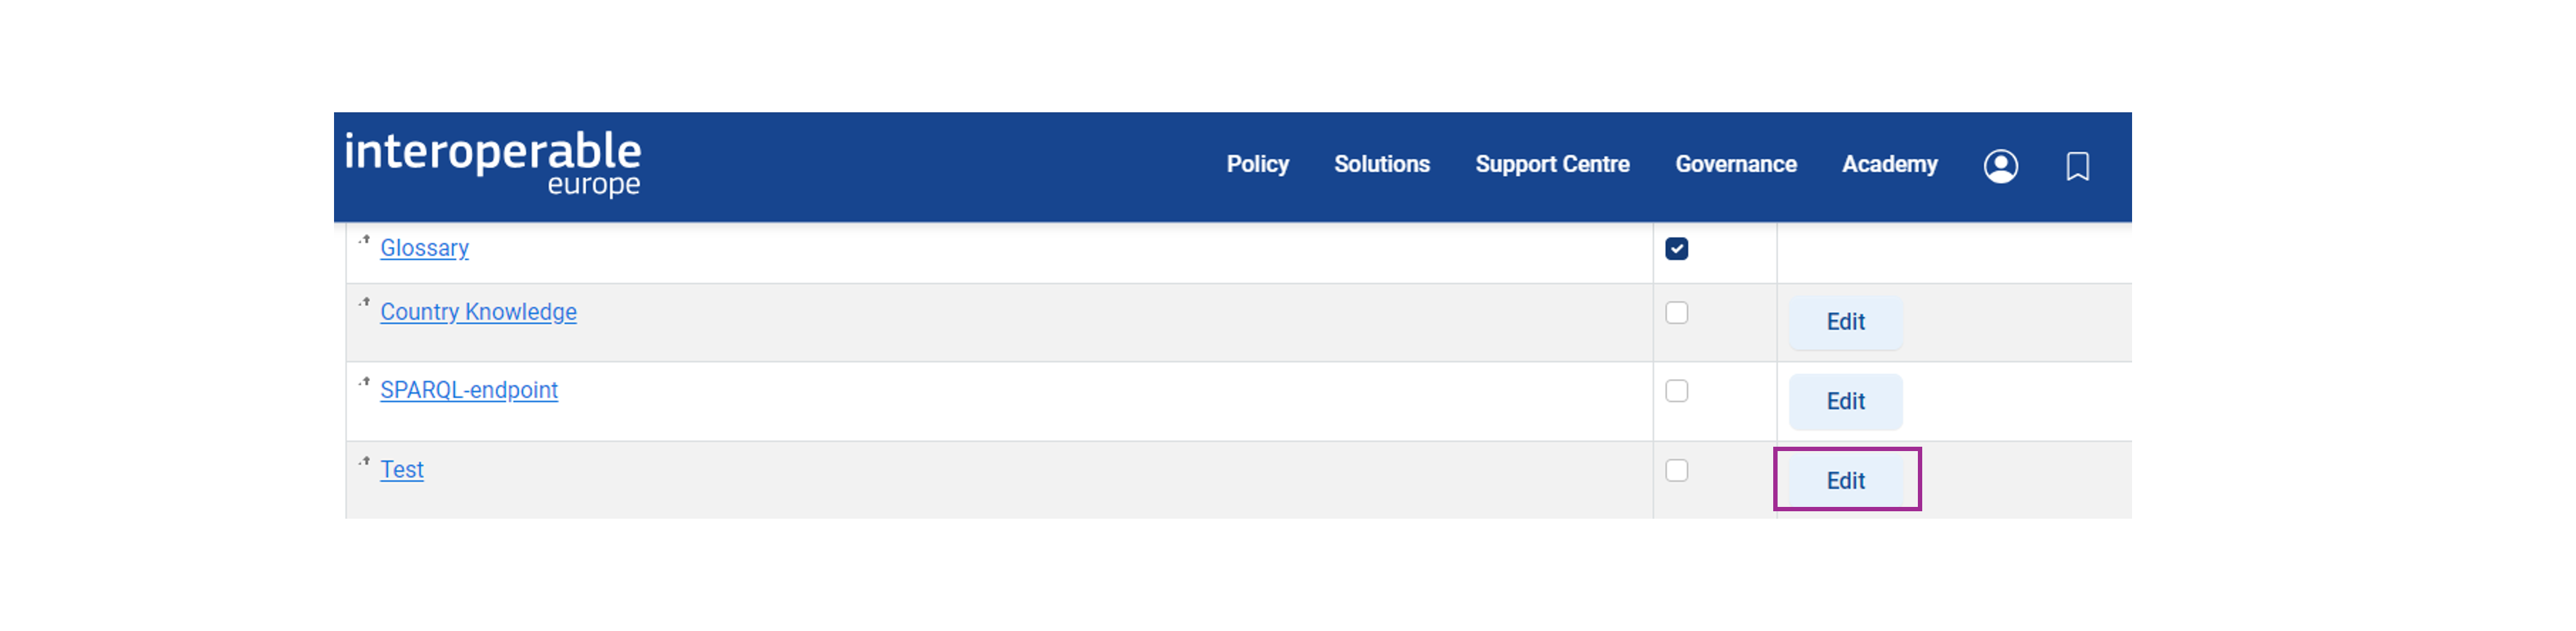
Locate your Custom Page in the list that appears and click on the right-side option “Edit”.
Create a layout, then click on the “+” icon and click the option “Map".
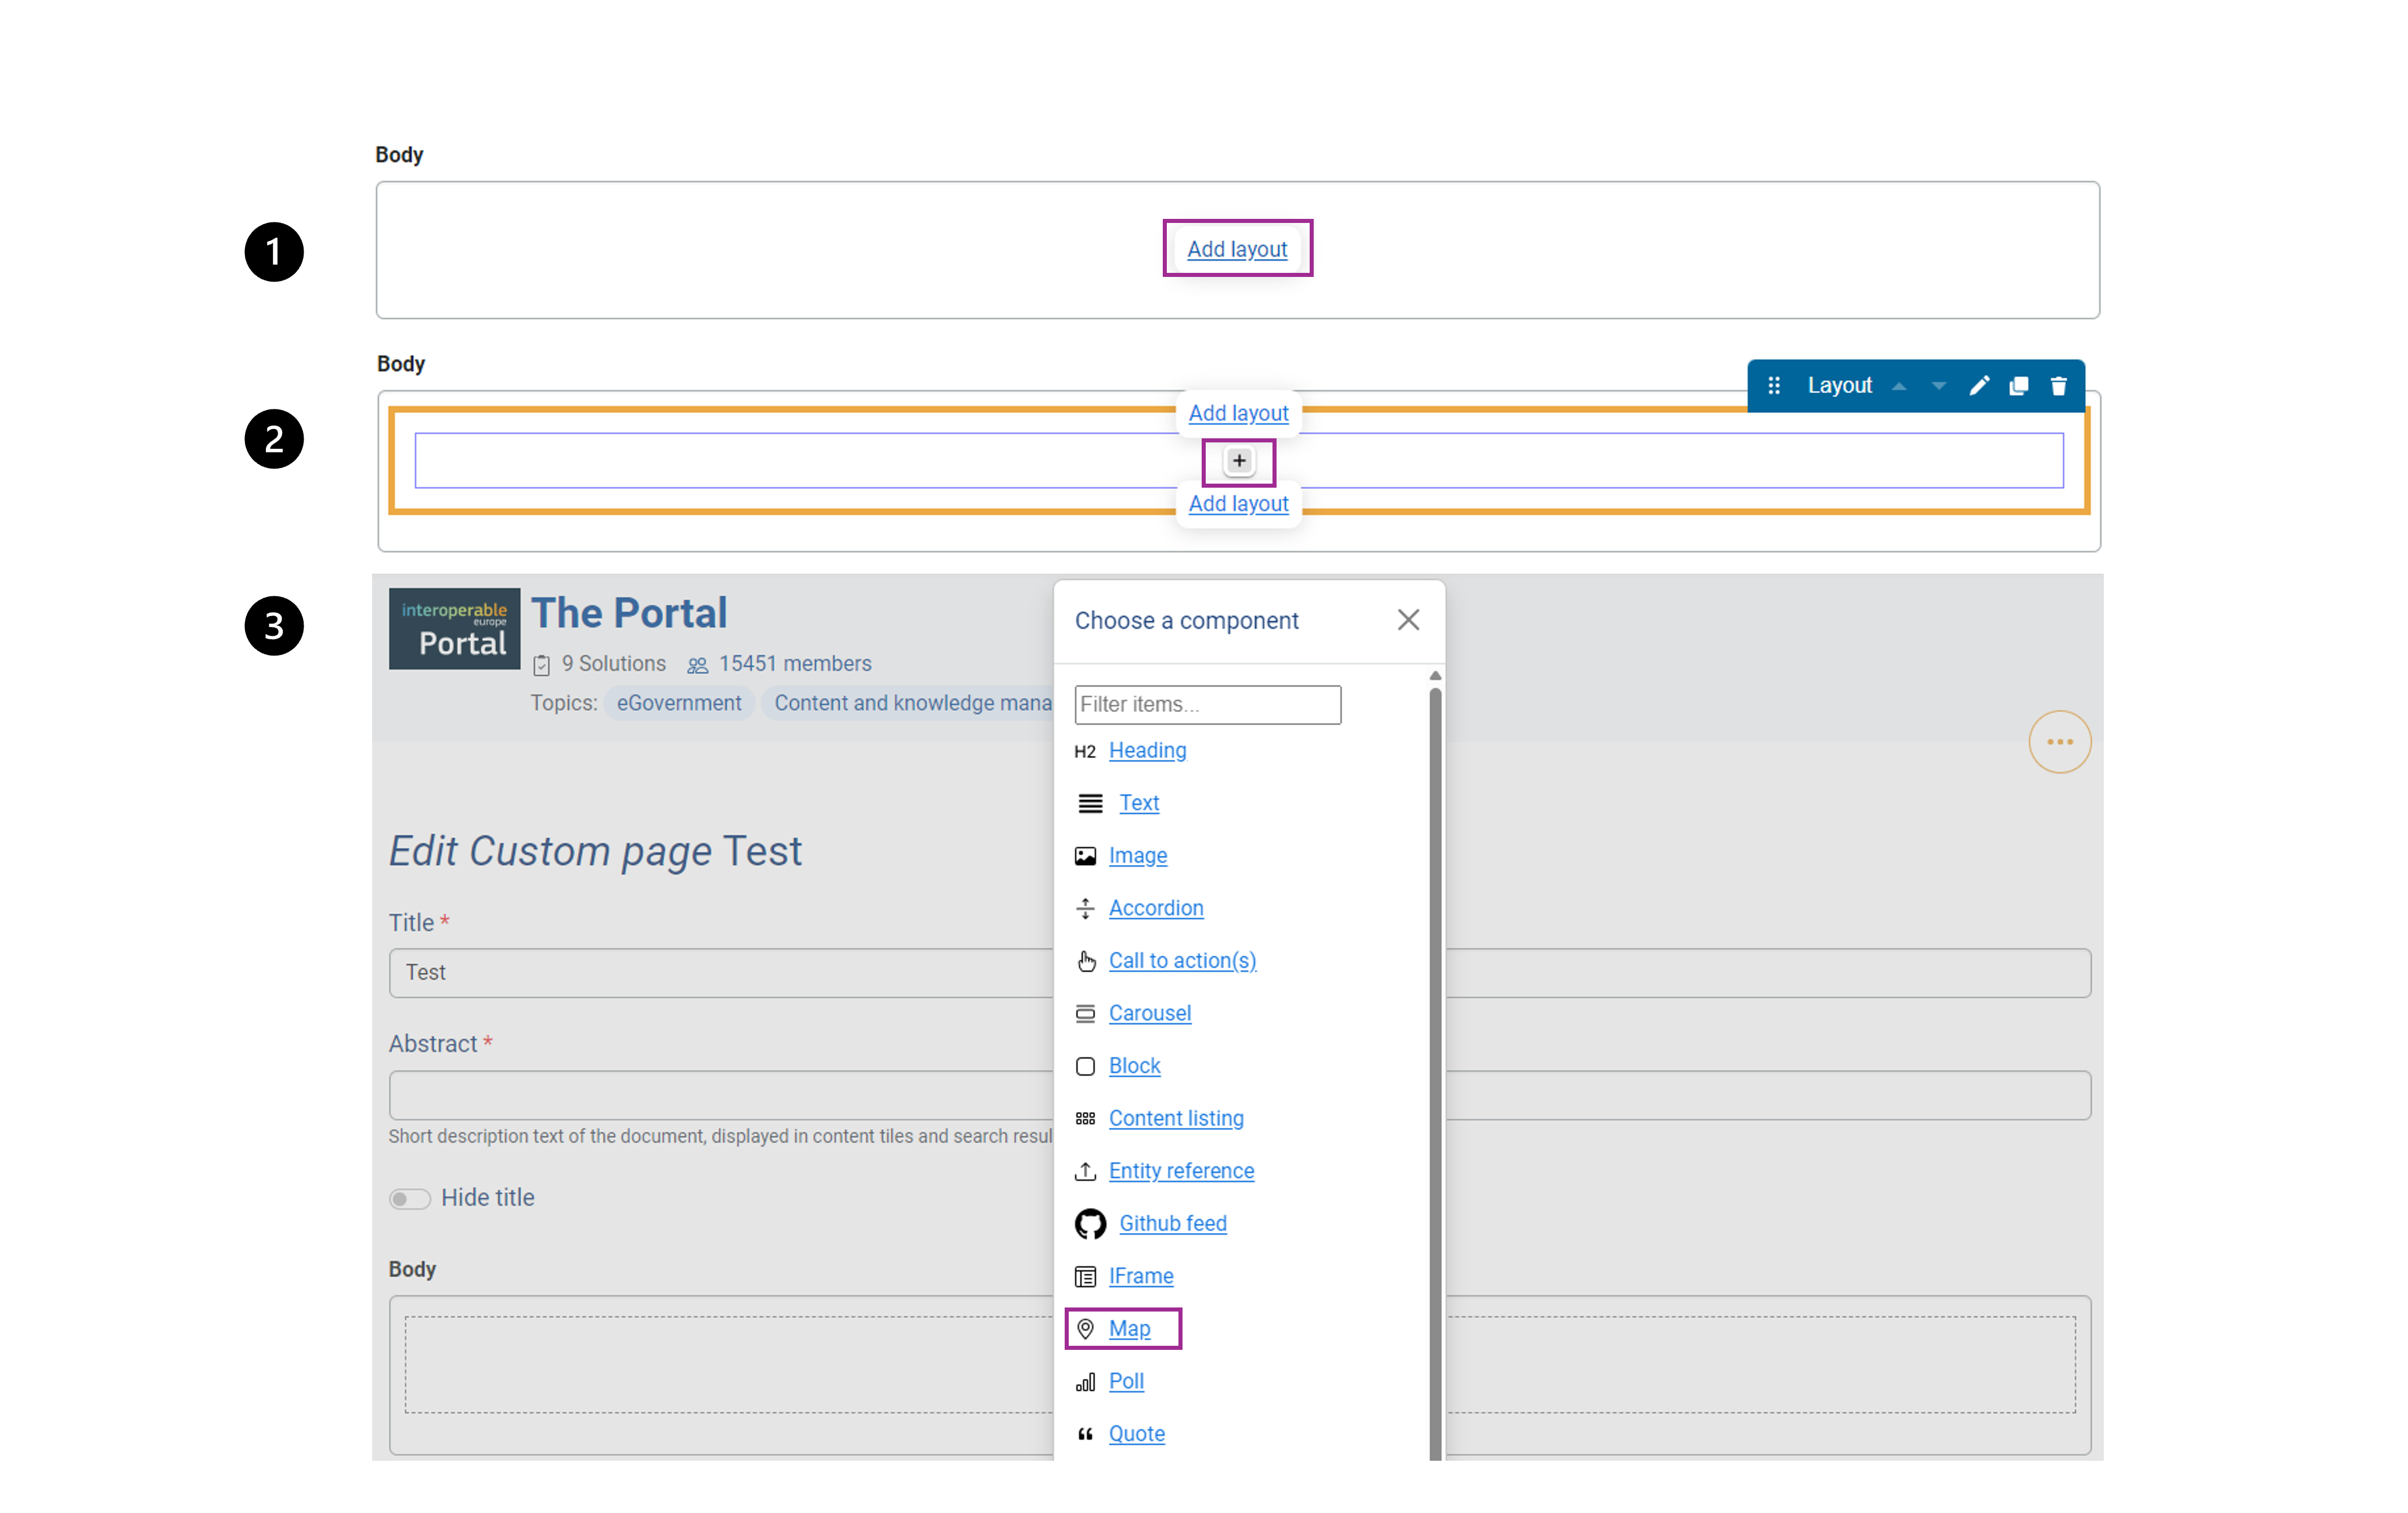
The map can only be configured with JSON code that should be inserted in the available field. (Note: JSON -- JavaScript Object Notation -- is a lightweight data-interchange format, easy for humans to read and write).
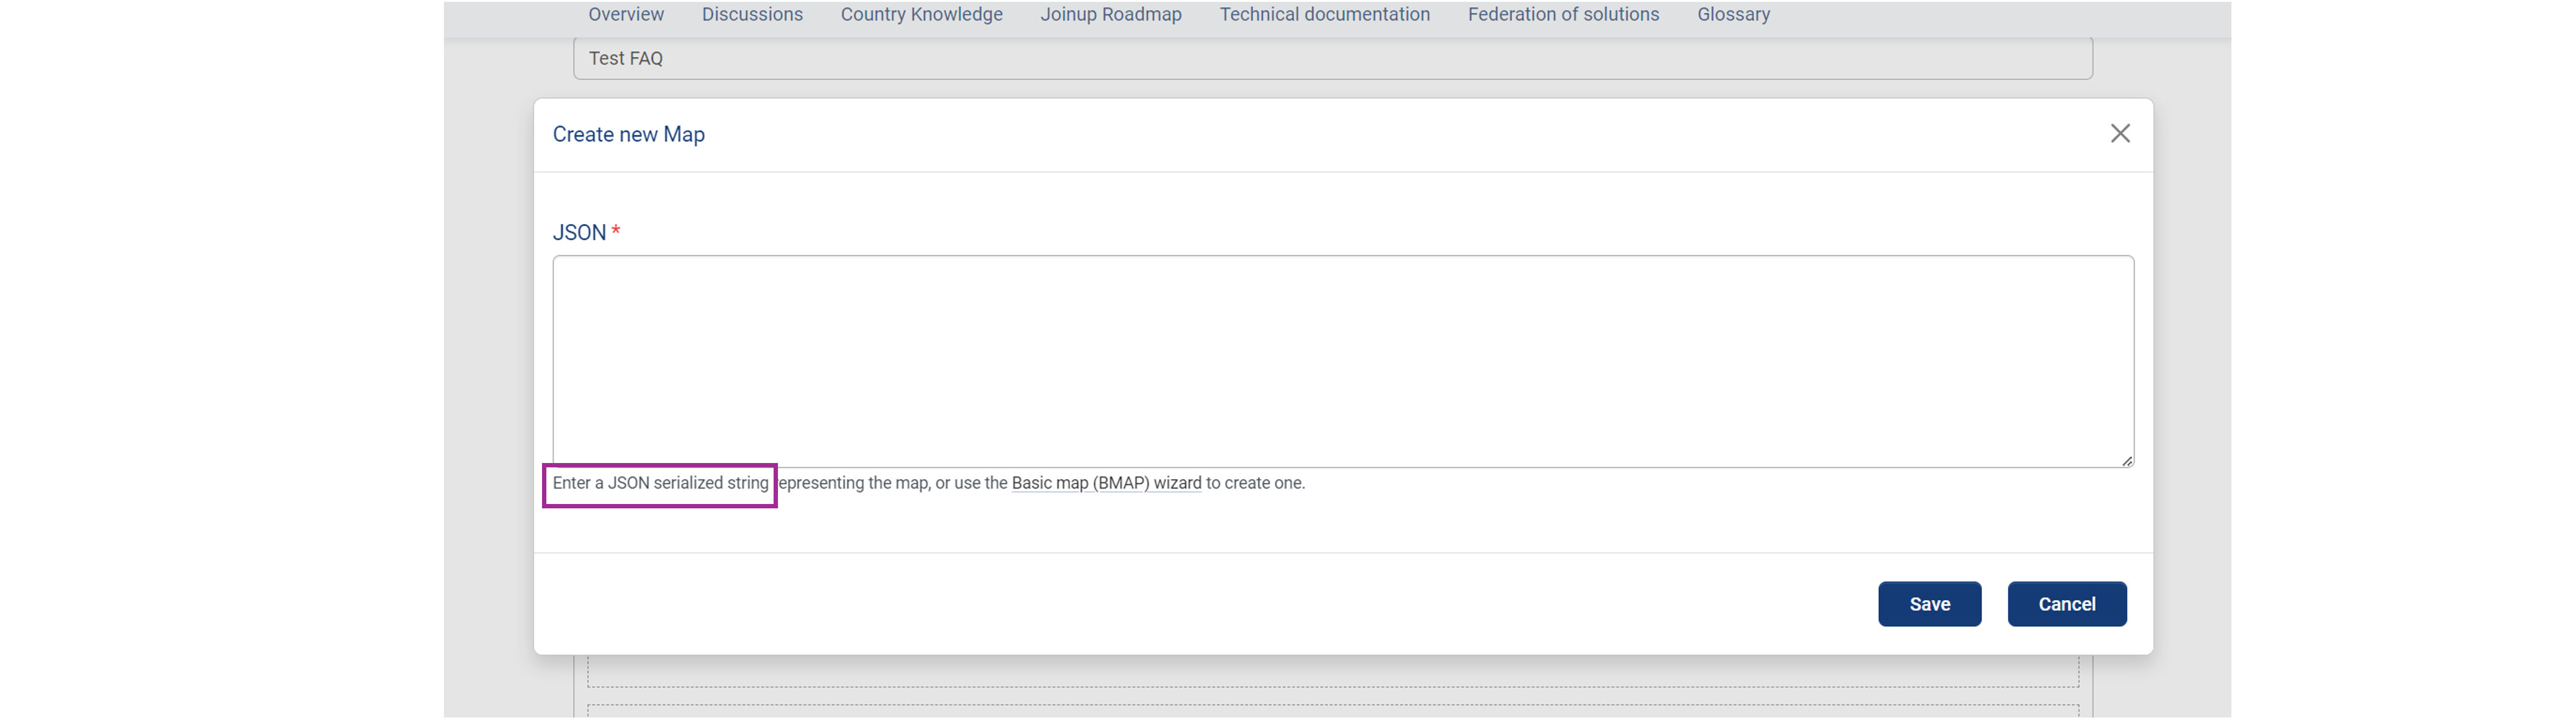
Creating JSON code via the Basic Map Wizard
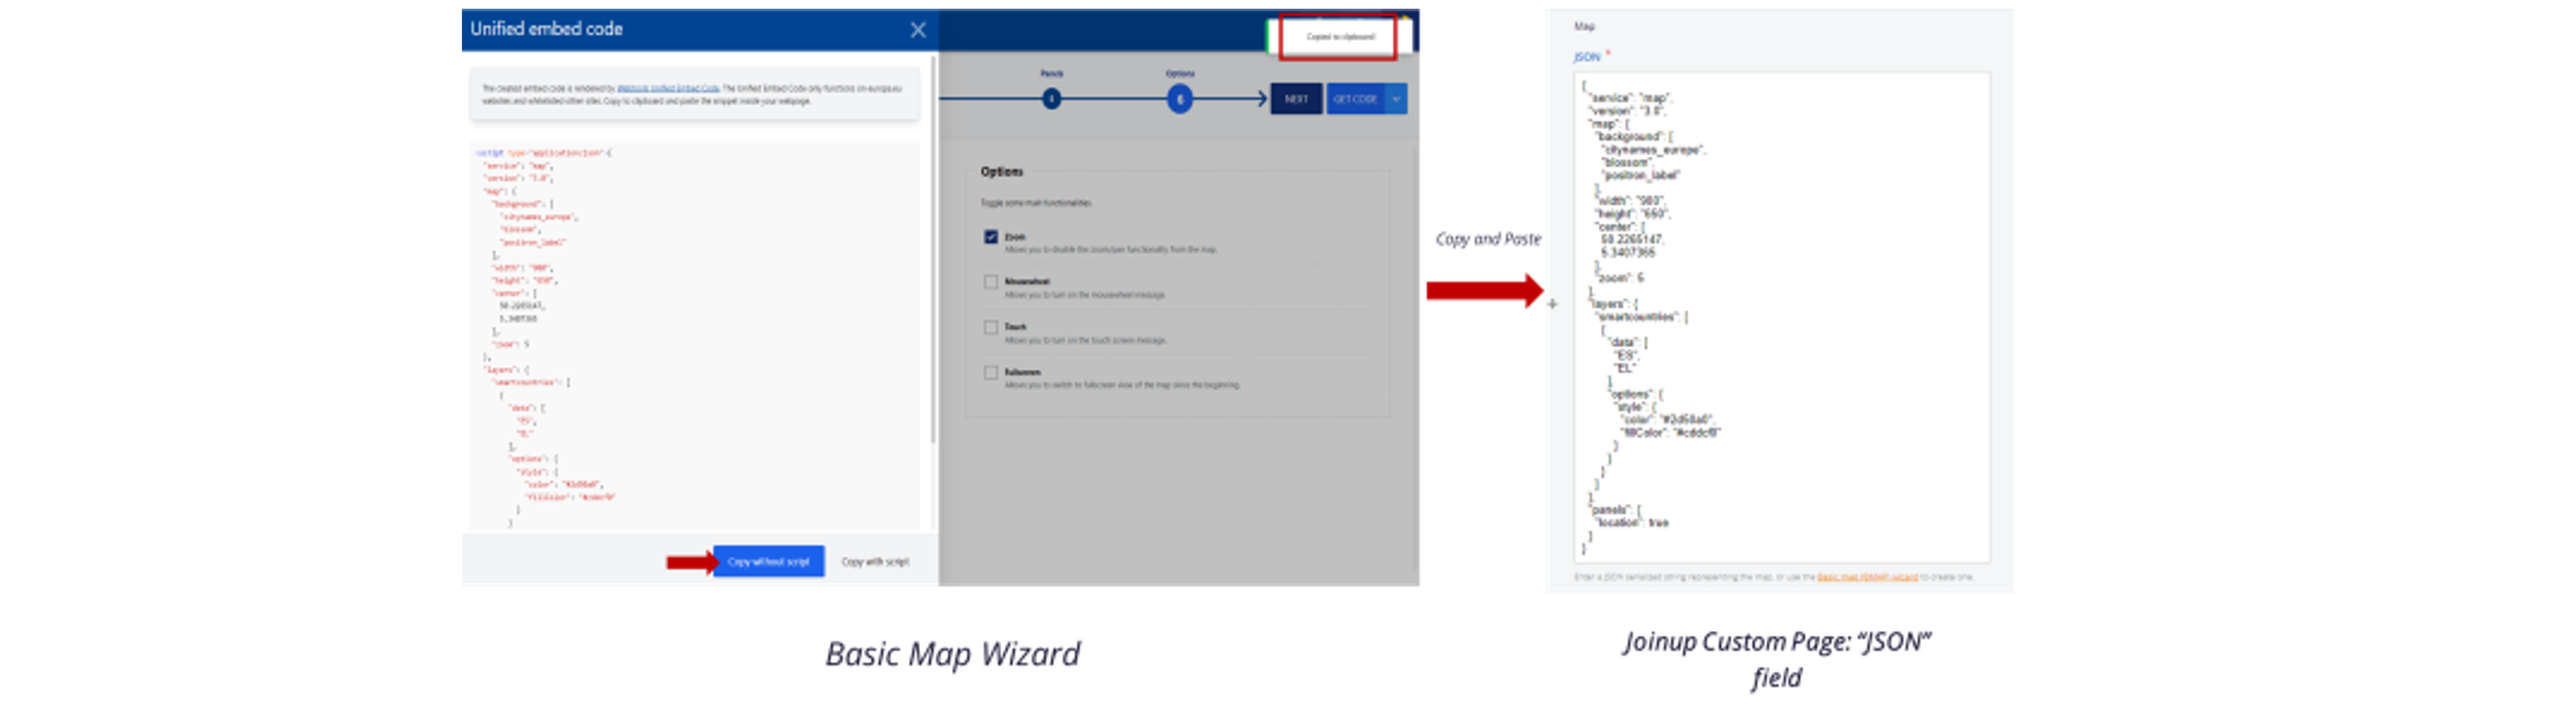
The Basic Map Wizard is a Commission-based free online tool to help you create your JSON code. Through a step-by-step wizard you can set your map’s details and preferred features, such as geographical region, backgrounds, layers, zoom level, location pins etc. After setting your map’s options, you can click on the button “GET CODE”.
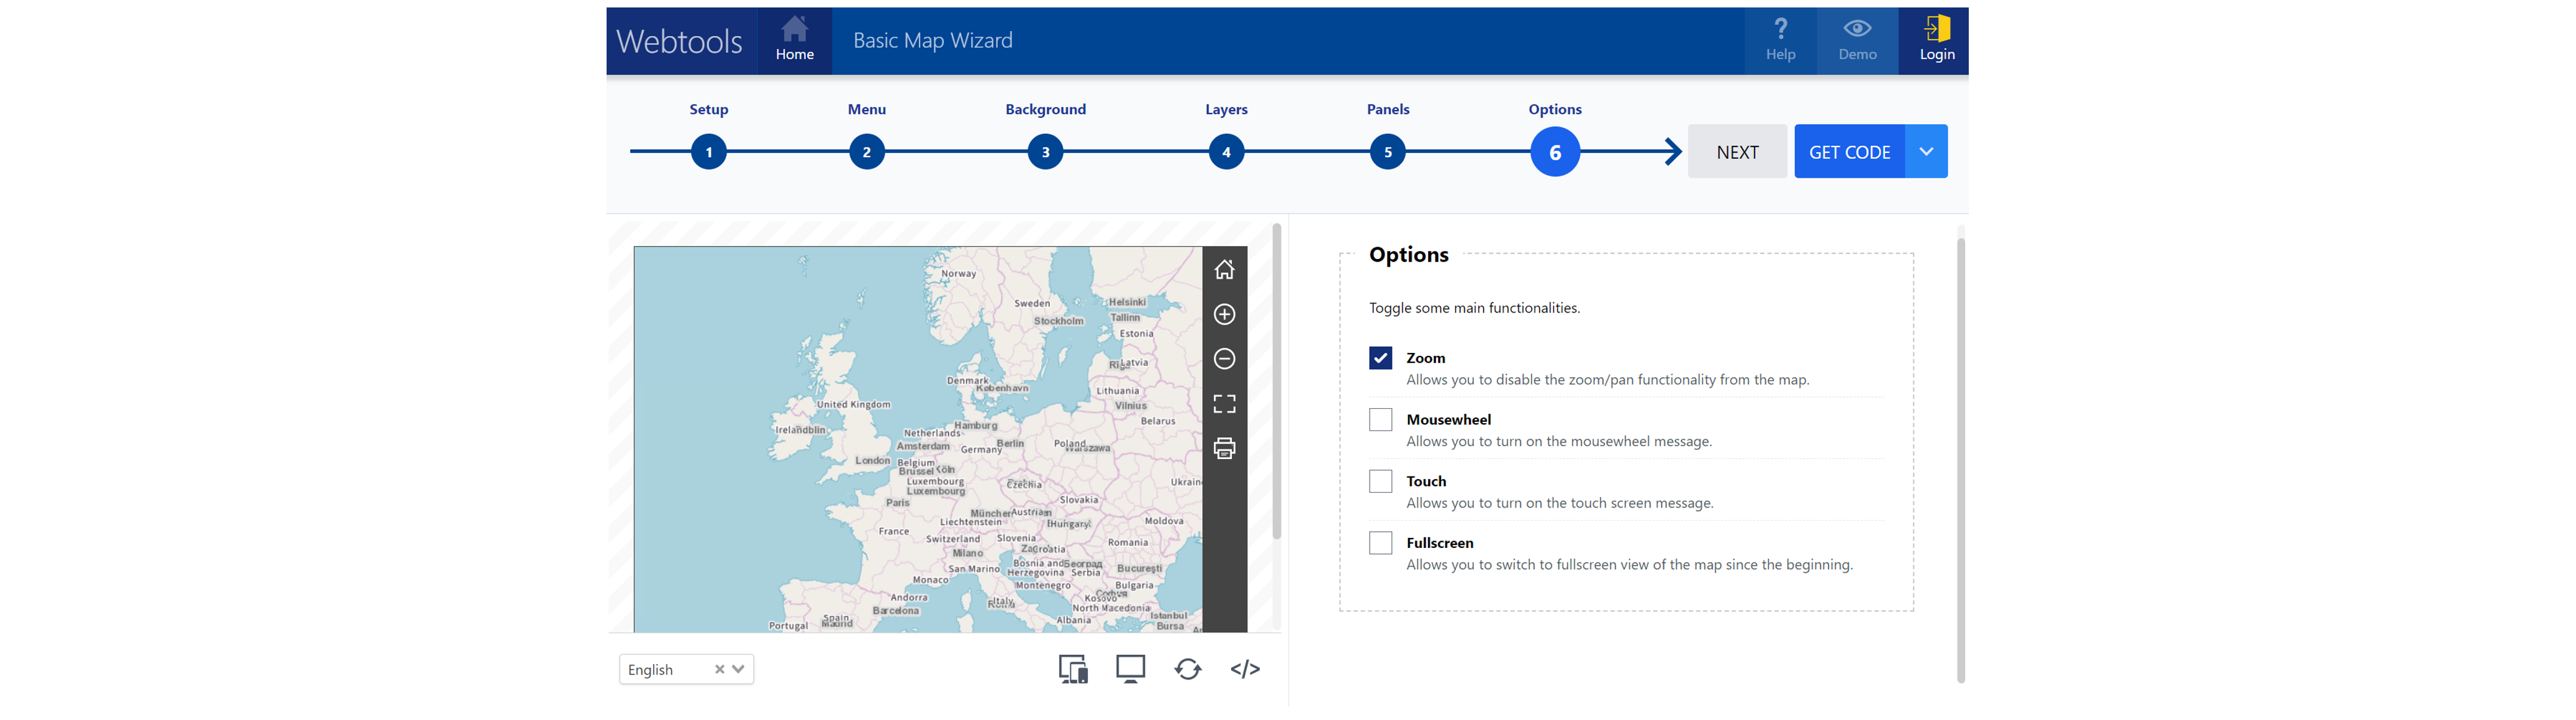
A window will appear, showing the JSON code that corresponds to your map’s configuration. Click on the button “Copy without script” and then paste the contents of your clipboard in the “JSON” field of your Custom Page’s map block.
To complete the process, go to the end of your Custom Page and click on the “SAVE” button to have the map appear on your updated Custom Page.
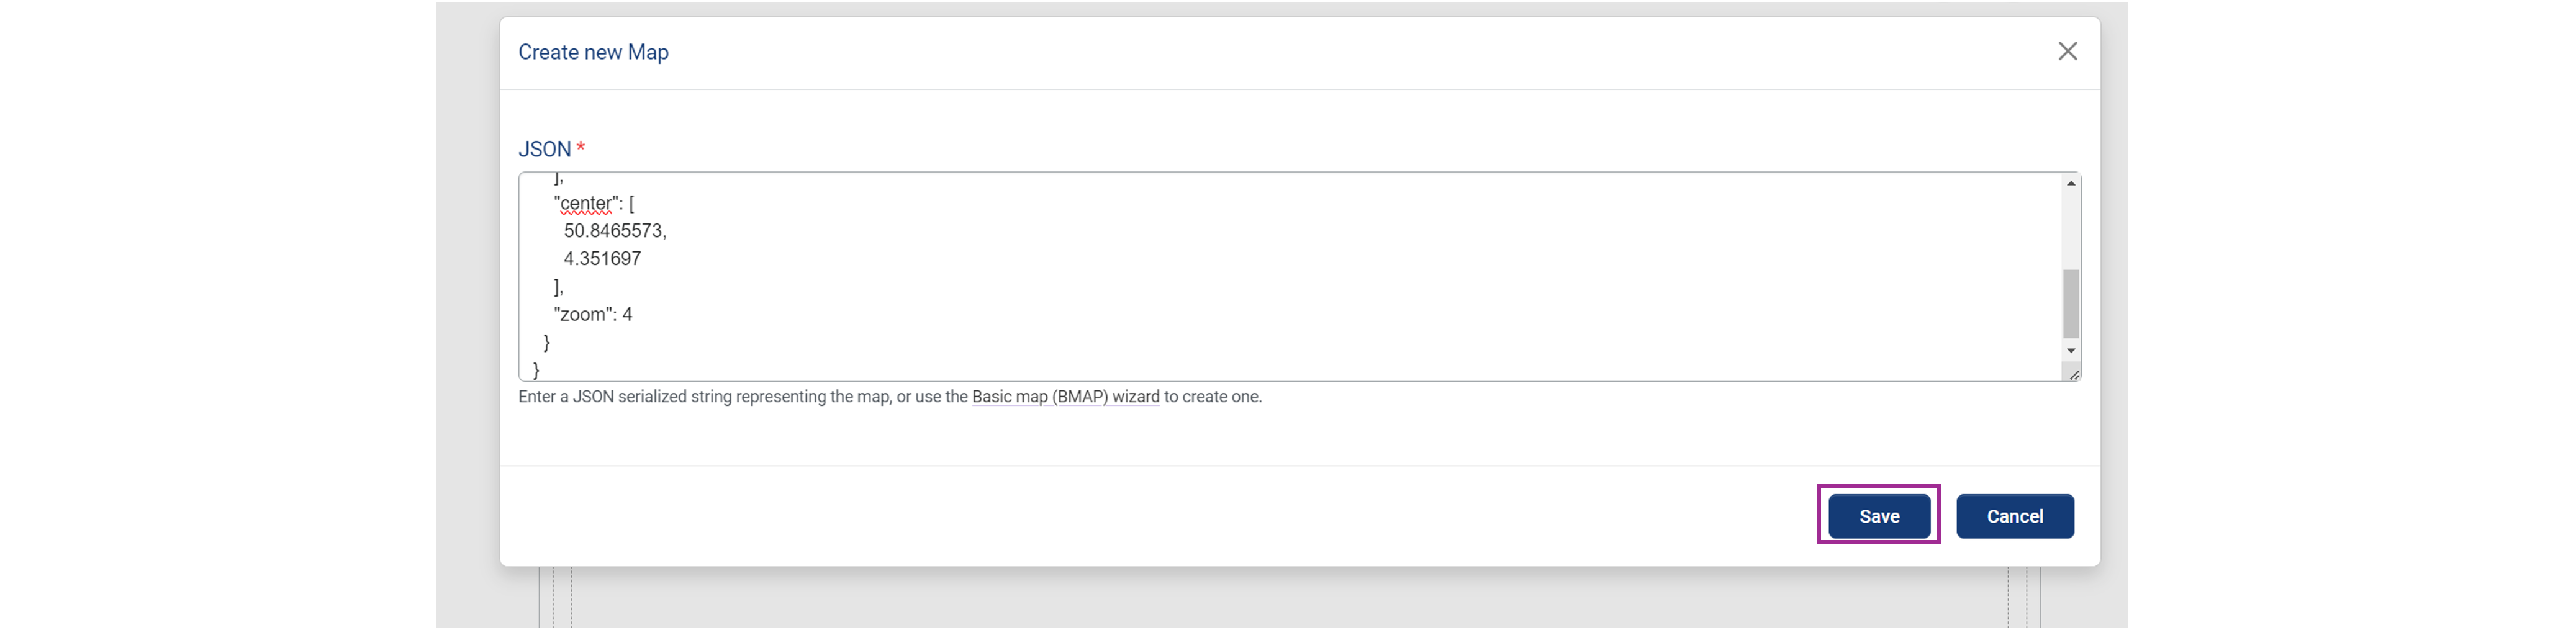
Note: Remember to fill all the required fields (marked with a red star) to be able to save your custom page!
Do you have any question?